
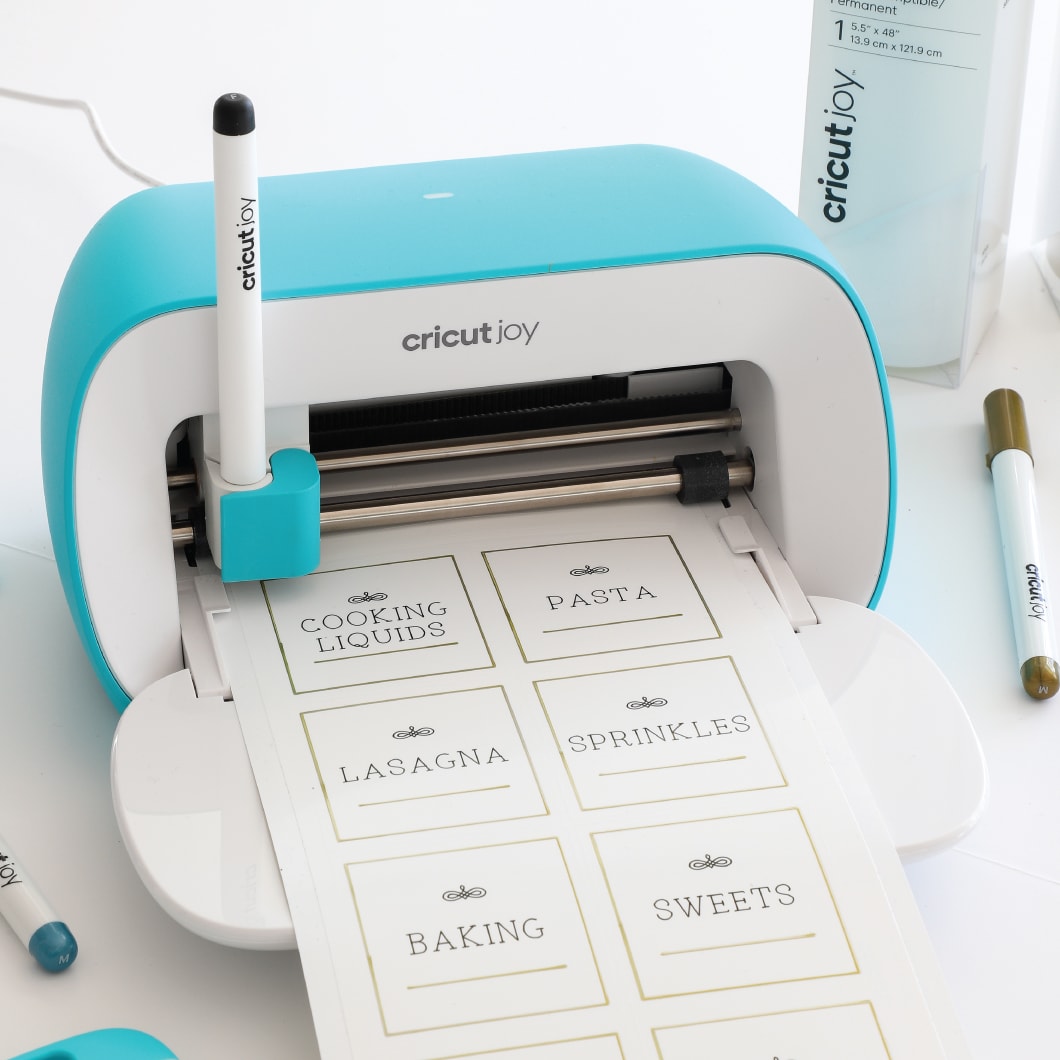
The Cricut Joy machine is the tiniest Cricut machine that has more unique features than Explore Air 2 and Cricut Maker. It’s a very compact machine that can easily be set up anywhere. Plus, it’s easy to carry while travelling. Also, it is incredible at work. All the crafters who like making DIY projects can utilize this machine for their regular crafts. However, this machine isn’t big like the Explore Air 2. Hence it cannot beat that machine. But in terms of providing the best results, Cricut Joy won’t disappoint you. This blog is all about the Cricut Joy machine setup. Get everything you must know about the machine and set it up with joy.
Key Features and Functions of Cricut Joy
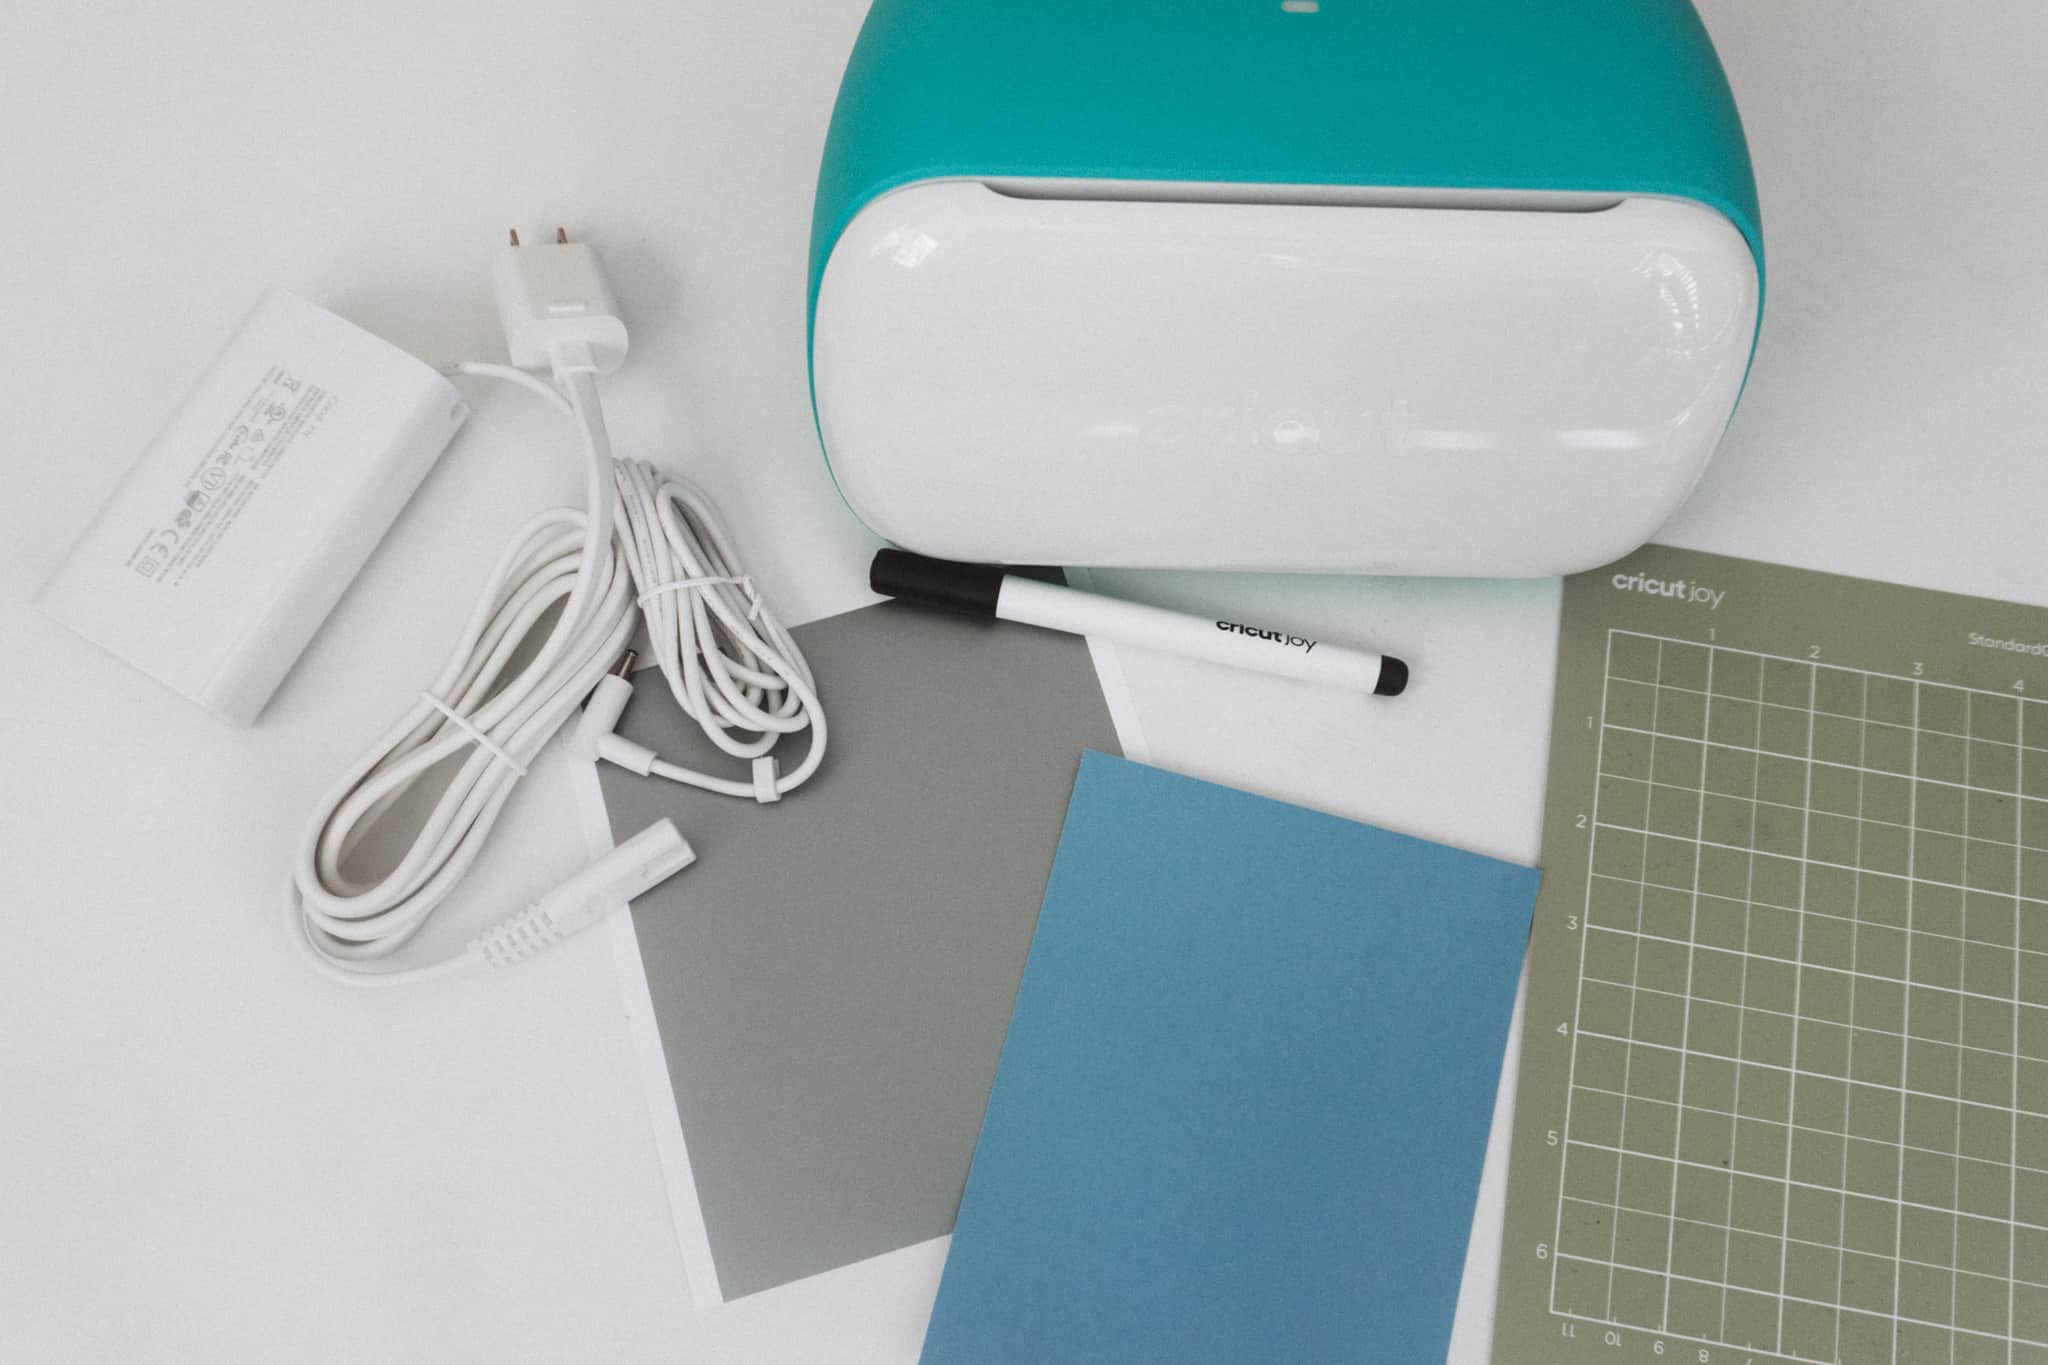
When we explore the machine, there are no buttons on it. There is only space for the power cord, and that’s it. This machine can be paired with your device (Phone, Tablet, or computer) using Bluetooth. It comes with a power cord, which allows you to connect the machine to a power source. Plus, it offers a Cricut Joy pen, StandardGrip cutting mat, some vinyl for practice, and an instruction manual. You can walk through the content to know everything about the machine.
https://www.howjoyful.com/wp-content/uploads/2020/04/cricut-joy-and-materials.jpg.webp
Note that the Cricut Joy pen is only compatible with the Cricut Joy machine. Hence, you cannot use it on any other Cricut machine you have. It includes fine point blades that are different from any other Cricut machine.
This little machine can make tons of amazing crafts for you in less time by cutting various materials into a form you expect. So, let’s move ahead and see how you can set up your brand-new Cricut Joy.
How to Perform the Cricut Joy Machine Setup?
To get started with the setup, unbox your machine first. After that, plug it into a wall socket and your compatible device. Here’s an easy guide to setting up your latest Cricut Joy machine.
Step 1: Unbox Your Cricut Joy
Once you’ve got your machine outside of the machine, you must go ahead and remove the styrofoam and all the plastic pieces. Then, you need to plug the machine into a power cord. There is a slot to plug the machine into a power cord.

Step 2: Plug the Machine to the Power Cord
Now, when you know the machine has a slot for the power cord at the back side, you can easily connect it to that. The machine has no buttons to turn on; it automatically turns on when connected to a wall socket. When the machine is powered on, a light will blink on the top of the machine once you plug it in.
Step 3: Visit Cricut’s Official Website
You can visit the Criuct’s website on any device that is Bluetooth-enabled. We are using an iPhone; you can use Android or even a computer. Then, open an internet browser and visit Criuct.com/setup. Once you get in, the website will instruct you to download the Design Space on your device.
Note: As we are using a mobile device, we can easily download the app. But if you are using a computer, your download will be saved into your Downloads folder from which you have to extract your file.
Step 4: Open the App (Design Space)
Continue by launching the app on your phone and clicking the option at the left corner. Then, select Machine Setup. Now, it will ask you which machine you want to set up. Click on Cricut Joy. Then, the app will prompt you to plug the machine into a power cord, turn it on and connect it to Bluetooth.
Double-check you enable Bluetooth on your phone. When done, get back to the app and click Connect. Now, it will start to update the machine and wait until it’s done. After updating, it will reboot your machine. Ensure your phone is connected to a Wi-Fi network to run updates.
Now, you can see a Success message appearing on your screen. At the bottom, you can see a Continue button. Click on it. Now you are required to register yourself to the Cricut account.
Step 5: Register Yourself to the Cricut Account
In the following step, use your Cricut email ID and Password to start with Cricut Joy. In case you don’t have an account, you can create one easily. To create a new ID, you just have to enter all the details.
So, when you are done, your screen will show. You’re all set up! Now, hit the Continue button at the bottom.
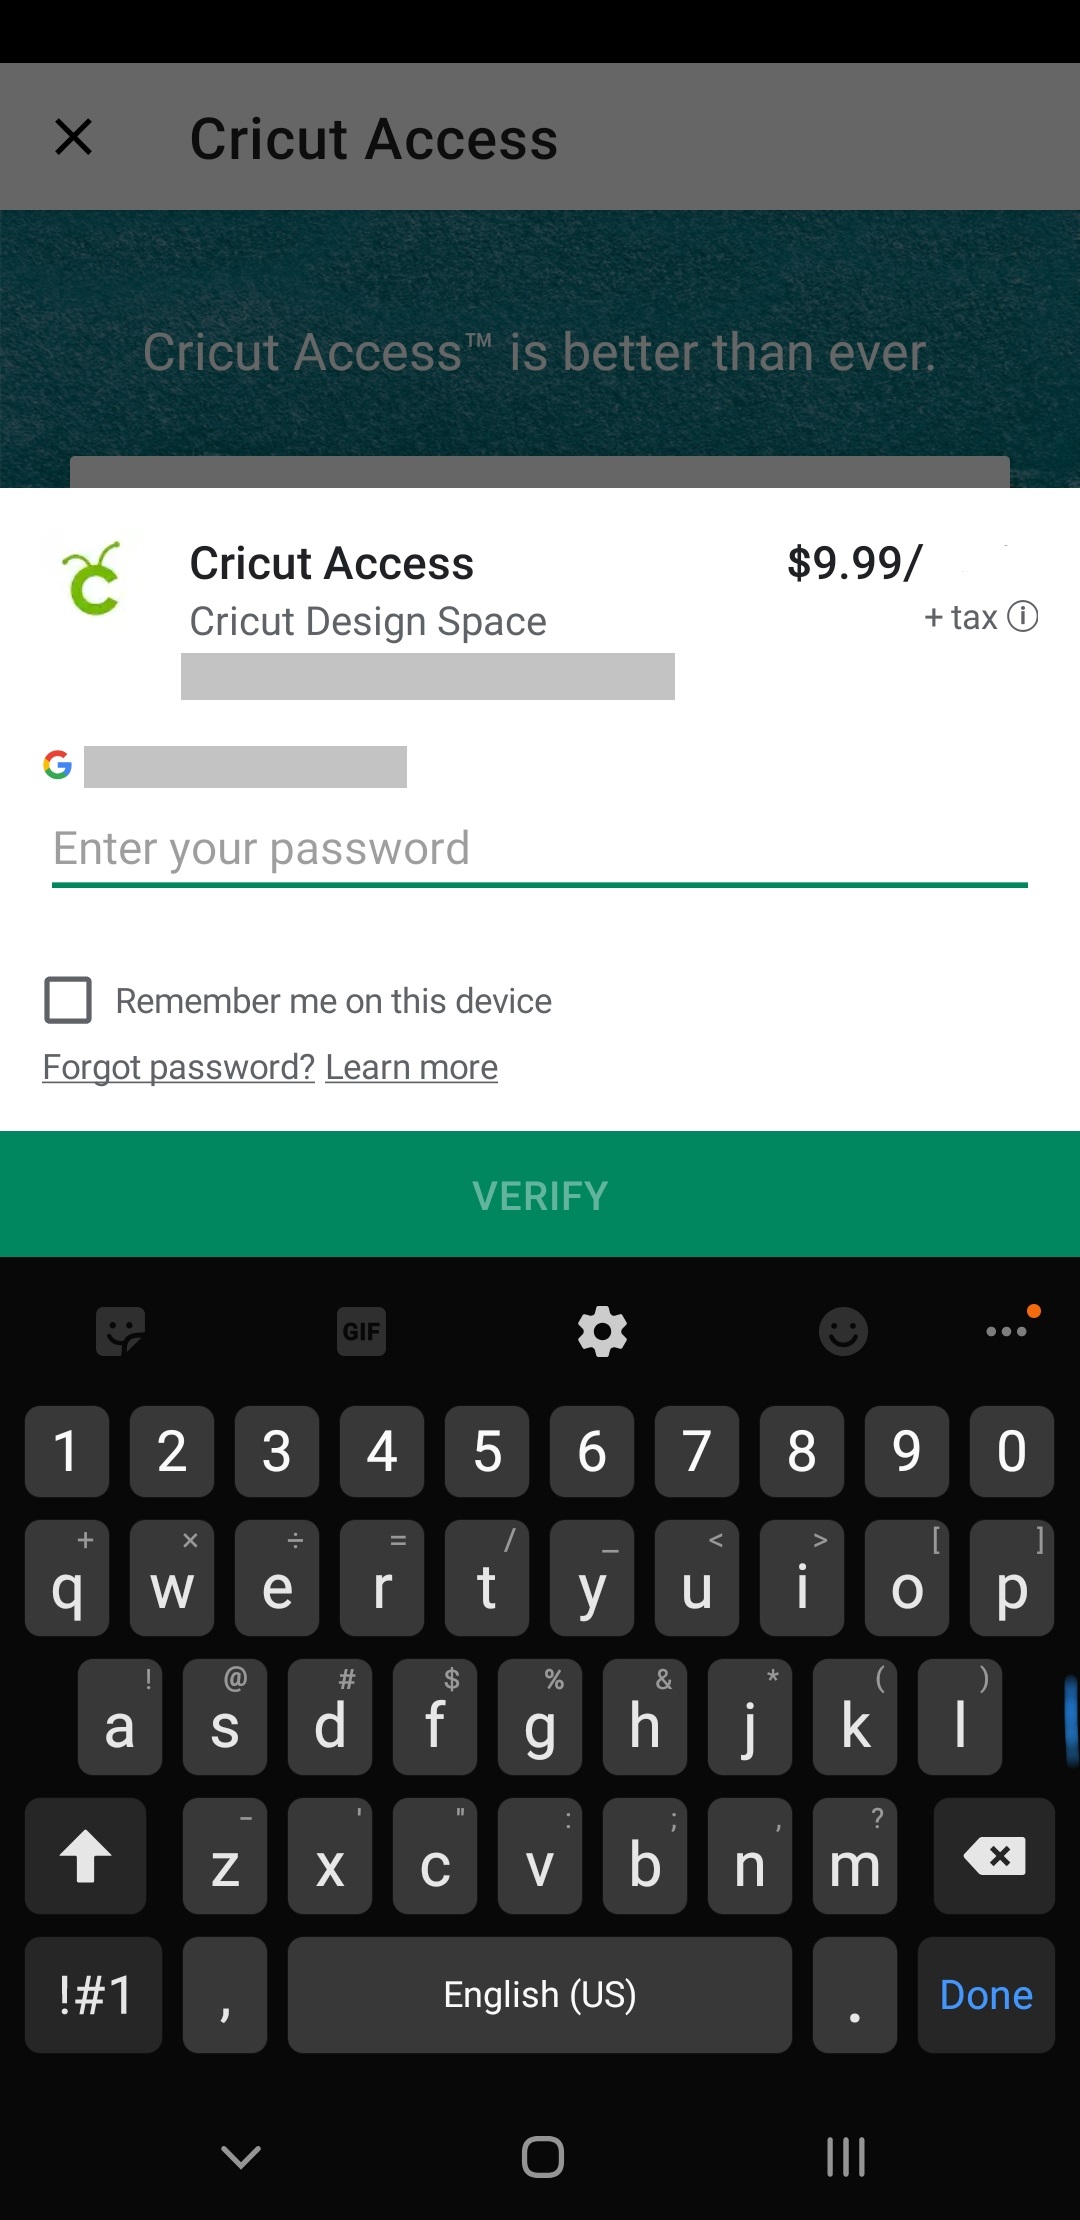
Step 6: Subscribe to Cricut Access (Optional)
When everything is set, Cricut will ask you to purchase a subscription for Cricut Access. This plan includes thousands of images, fonts, and images to design your projects. The good news is you get a 30-day free trial when you just start. After that, you need to pay $9.99/month to access it. Although, this subscription is completely optional, and you can skip this step. The new users can enjoy the 30-day free trial.
Step 7: Perform a Test Cut
You have finally completed your Cricut Joy machine setup. Now, it’s time to check the machine’s functionality by performing a test cut. The Design Space will instruct you on performing a test cut easily. So, go ahead and test a simple cut through Design Space.
Conclusion
It was all fun setting up the Cricut Joy, wasn’t it? Well, all the beginners might be relaxed to see how simple it is to set it up. One more time, Cricut Joy only runs by Bluetooth, so make sure your device is Bluetooth-enabled. Check everything inside the machine’s box and utilize them to create an amazing craft.
Cricut Joy machine setup can be done on any compatible device. So, get your device, connect it to the Cricut Joy, head over to the Cricut website, and continue setup by downloading the Design Space app.
visit site :-