
Among various types of crafting, stencil is one of them. If you do not know, stencil is a form of artwork where you create intricate pattern designs using the sheet. Anyone can make excellent stencils if they have a cutting machine. If you also learn to make a stencil but do not know the process, then this blog post is going to be beneficial for you. In the following content, we will share the full info on the stencil and provide a step-by-step guide to creating a stencil. So, keep reading this content and get expert in how to make a stencil on Cricut.
WHAT IS A STENCIL?
Stencil is a type of material sheet such as vinyl, paper, and plastic. And the design cut out on it. You have to make a design and cut in on your stencil vinyl or any other sheet. After cutting the sheet, you have to apply the paint to it. Plus, you can create different types of designs on different products. The follow-up image is an example of the stencil design.
WHAT DO YOU REQUIRE TO MAKE STENCILS ON YOUR CRICUT MACHINE?
Before we jump to how to make a stencil on Cricut, it is helpful to know what you need for that. Some of the primary and essential things you need to complete the stencil project are as follows:
- Any Cricut cutting machine
- scraper and weeding tool
- A blank product on which you want to create a stencil design
- Brayer
- Transfer tape
- Cricut Stencil Vinyl
- Paint
- Stencil brush (or Sponge brush)
The supplies can vary from project to project. So, if you want to use stencils on some other product, then you might need to use some tools.
WHAT ARE THE STEPS TO MAKE A STENCIL ON CRICUT?
You just have to follow the below-mentioned method to create the stencils once you have got everything you need.
STEP 1: MAKE THE STENCIL DESIGN
- First of all, launch the Cricut Design Space app and open a fresh canvas.
- After that, go to the Image Library and select any image you want to stencil.
- Also, you can make your own stencil in the app.
STEP 2: CUT THE DESIGN ON STENCIL VINYL
- After completing the stencil design, you need to cut it.
- Load the stencil vinyl on the Cricut LightGrip cutting mat. You can also use the StandardGrip mat.
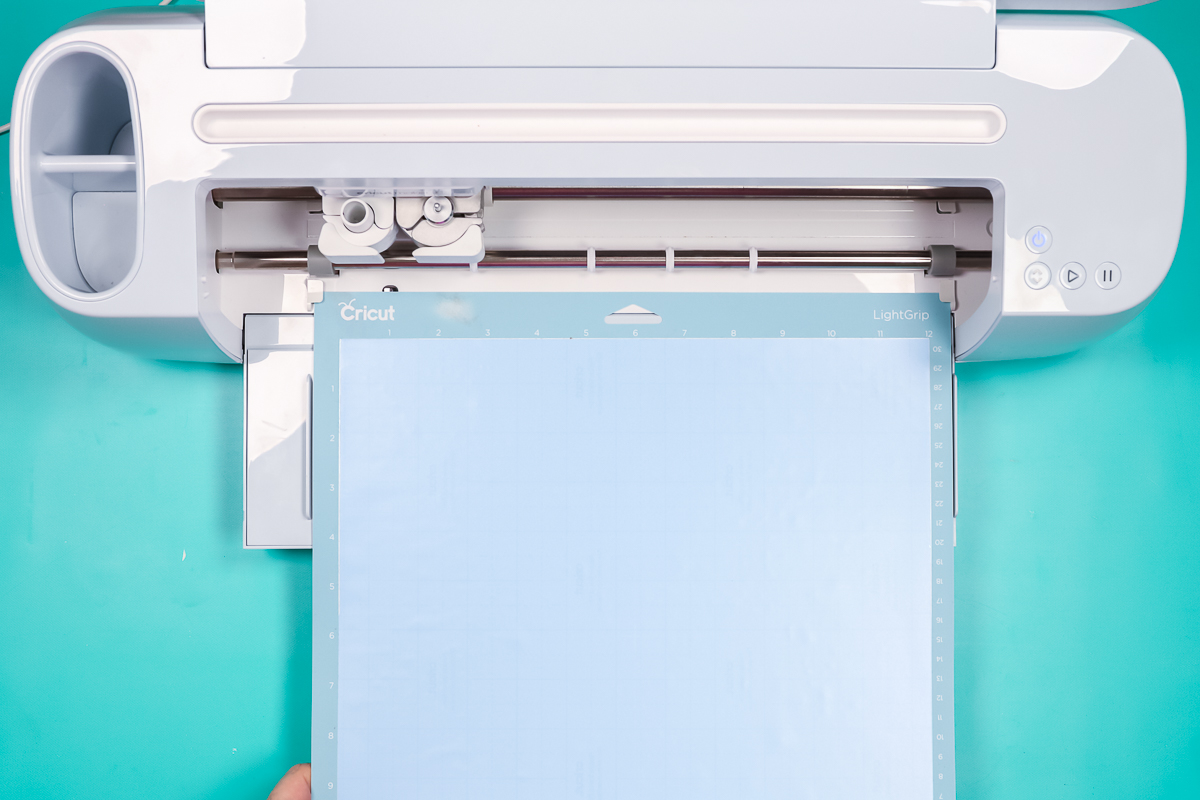
- Also, make the vinyl sheet completely flat and smooth, and stick it on the mat with the help of a Cricut brayer tool.
STEP 3: SEND YOUR DESIGN FOR CUT
- Press the button on the cutting machine to load the mat.
- Then, on the app, click on the Make It option.
- Make sure that the design looks perfect on the next Prepare screen.
- In the next step, click on Continue.
- Next, in the materials list, click on the Stencil Vinyl option.
- Attach the Fine-point blade to your Cricut cutting machine.
- And then complete the cutting process.
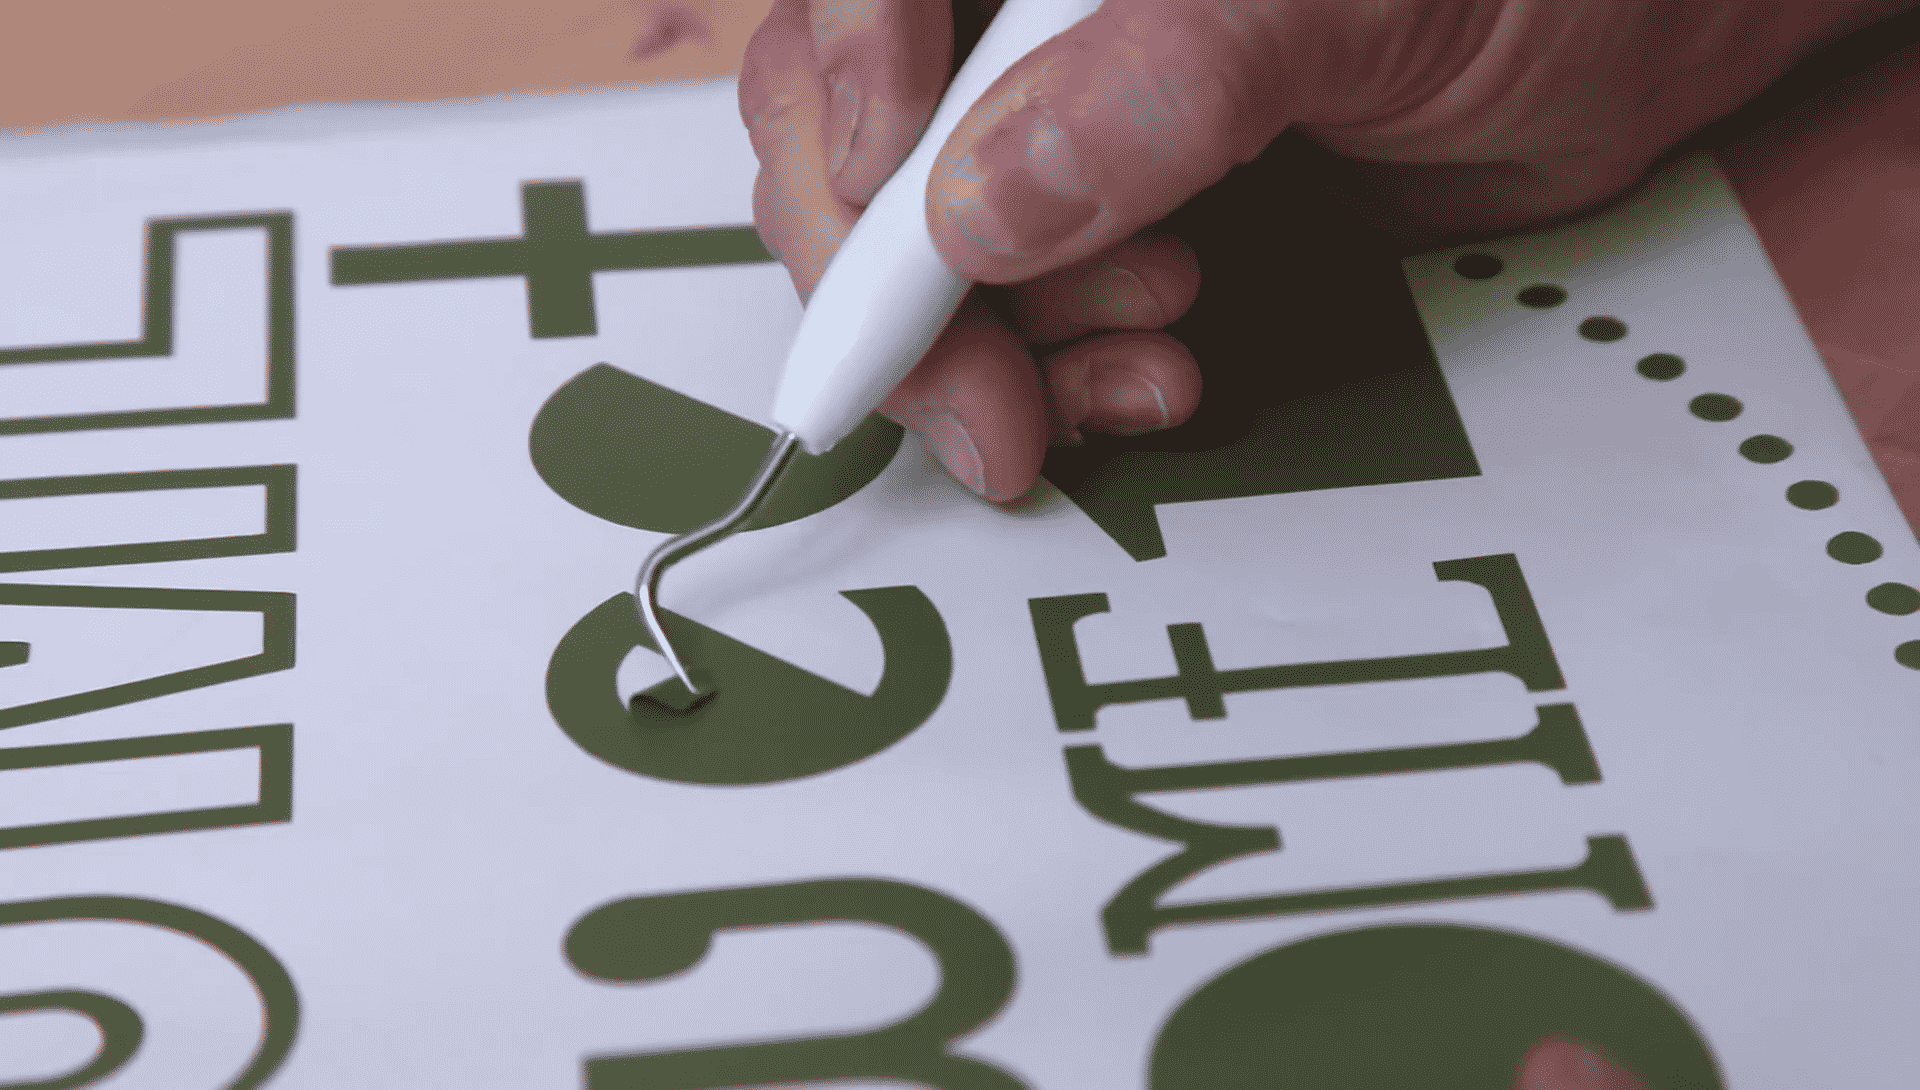
STEP 4: WEED OUT THE CUT PART
- After cutting the stencil design, there will remain various excessive parts on it.
- You can use the weeding tool and take out all the extra parts from it.
STEP 5: ADD THE STENCIL TO YOUR PROJECT
- The final step of your project is to add the stencil to it.
- For that, check if the project has a dry and clean surface.
- Then, keep the stencil on the surface.
- Burnish the stencil vinyl on the project surface thoroughly with the help of a scraping tool.
- After that, take the back color and paint it on the project properly.
- Next, remove the stencil vinyl from the surface of your project. (Let the color try before you remove the sheet.)
- Here you go; your stencil project is complete.
CONCLUSION
Our blog has shared all the information on how to make a stencil on cricut. You can use this knowledge to create jaw-dropping stencil designs if you are a complete beginner. Make sure to have all the vital supplies in your hand when you are working on the project. Otherwise, you will have to face problems in the middle of your project. Also, you can create stencil designs on different products such as glass, clothes, doors, or anywhere you like. So, we wish you a good lunch for your first stencil project. Keep creating awesome projects!
FREQUENTLY ASKED QUESTIONS
WHAT MATERIAL DO YOU USE TO MAKE A STENCIL WITH CRICUT?
You can create the stencil with a Cricut cutting machine- Cricut Maker, Explore, or Joy. You need a product on which you want to create the stencil design. Also, some basic tools such as scrapper, transfer tape, brayer, paint, stencil vinyl, and some others. You may require more or less supplies based on the project’s complexity.
CAN A BEGINNER MAKE THE CRICUT STENCIL?
A novice can create a professional-looking Cricut stencil design if they have full knowledge of the steps. You have to use the stencil vinyl and cutting machine to create the design. First, make a design and cut it on a cutting machine. After that, attach the sheet to the product and color it as you like. After that, the stencil will be complete. For full information, follow the steps mentioned in the above section.
WHICH CRICUT MACHINES ARE BEST FOR STENCILS?
You can create and cut the stencil designs on any of the Cricut machines offered by the company. Cricut Maker, Cricut Explore, and Cricut Joy can be used to cut the stencil. If your stencil design is significant, then it is best to use the maker or explore series machine, as Joy is a small machine.